This desk... is my home base during the day. I like it because it tall and I don't need to sit down to utilize it. I'm always moving from one spot to another during the day, hopping from one child's need to the next. This desk always has an open 3 ring binder laying on it. ... it's where my daily to-do list is, my calendar, my meal plan (you can see what I use to stay organized here)... my random creative ideas get scribbled down there too. I'm always drawn back to this spot, where I flip from one page of my binder to another... going about the business of my day. So... lately I've realized it would be super handy to have a bookmark that clips into the binder to mark my place. And it couldn't just be a paper bookmark. I would destroy that too quickly. No, it needed to be durable! And thus, this project was born :)
So! Let me explain what I did... so you can make one too if you'd like :)
SUPPLIES:
*printed design pages (you can download these at the end of the post...)
*scissors
*glue stick
*clear contact paper
*craft knife, cutting mat, and straight edge ruler (these are optional, but handy)
*single hole punch
*paper clips
(forgot to include the hole punch and the paper clips in the photo... I'm tired. )
THE PROCESS:
1. Glue the two design pages together with the glue stick... backside to backside. Use a generous amount of glue, covering the entire sheet. Then smooth out to make sure you have a good bond.
2. Cut a large rectangle of contact paper. You are going to use one piece to cover the front and the back of your glued design sheets... so make sure it's plenty big.
3. With your glued design sheet near by, peel back the paper backing on half of your rectangle of contact paper.
5. Peel the remaining section of the paper backing off of the contact paper and fold it over your design page. Smooth it out on both sides, making sure there are no air bubbles.
7. After the straight edges are cut, trim off the remaining round edges with your scissor.
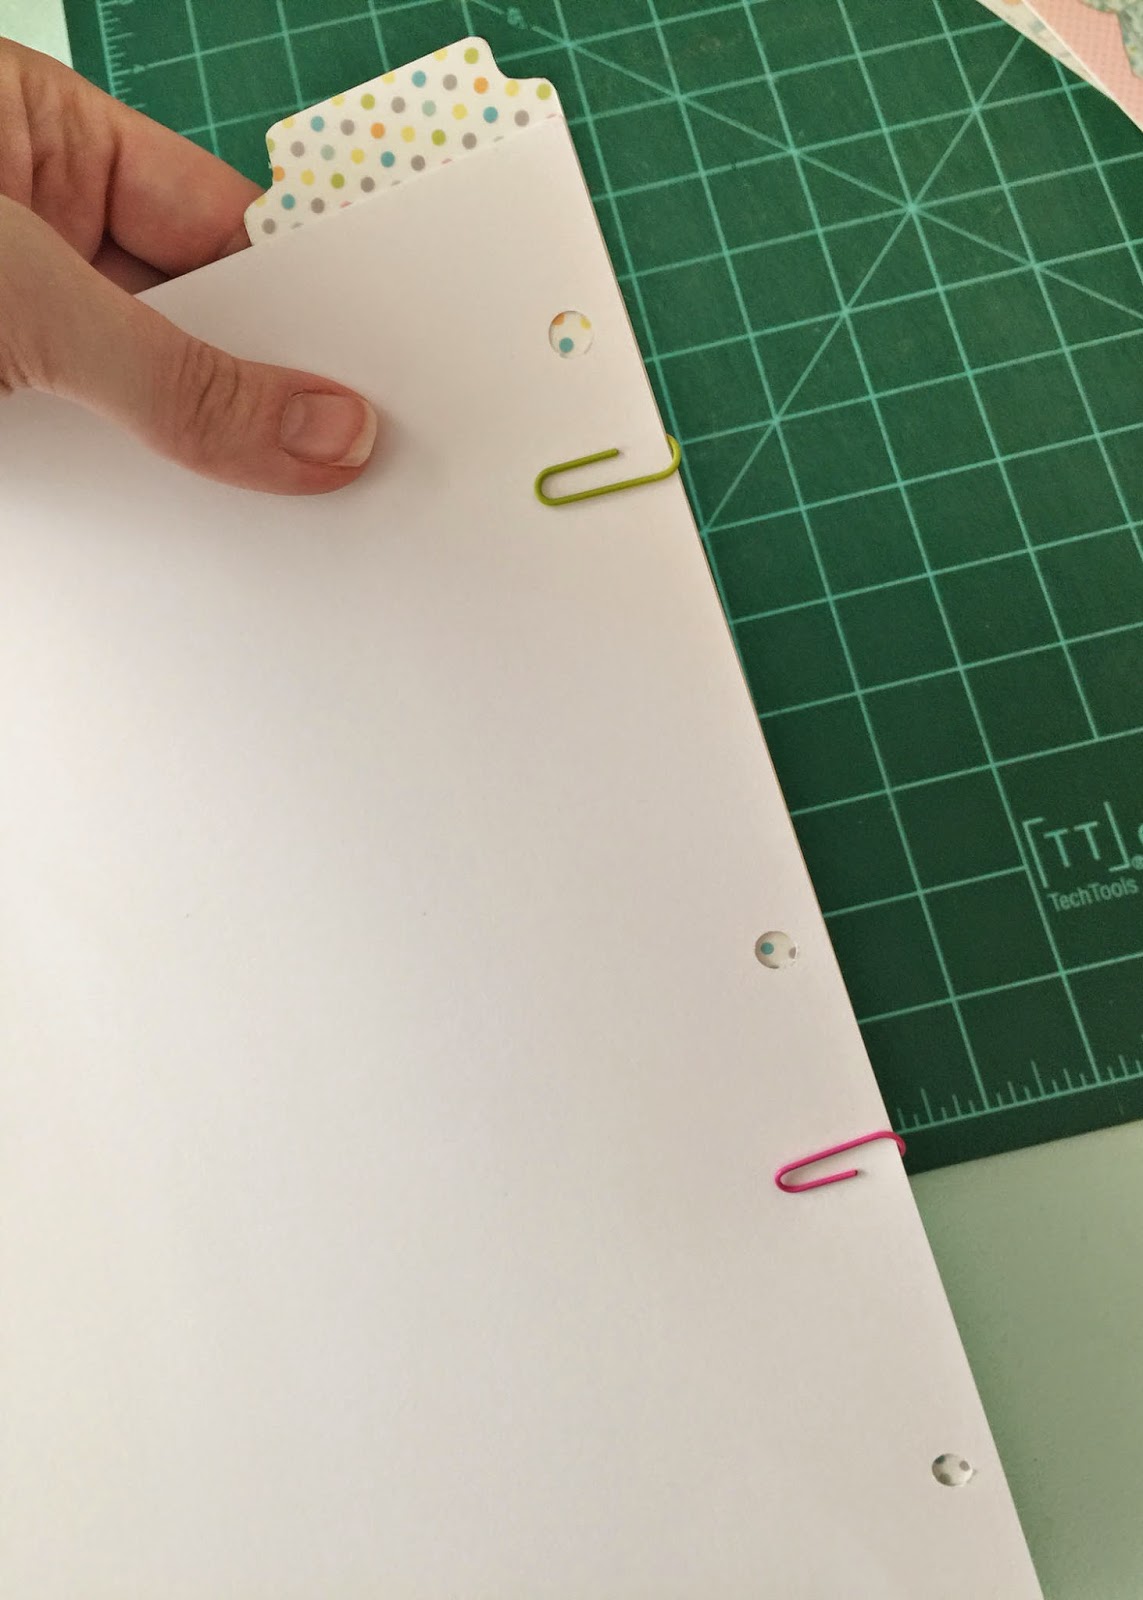
8. To punch the holes in the bookmark, you need use a page from your binder as a template for where the holes are to go... Line up your template page against your bookmark so that the "today" tab hangs over the top edge.
9. Once you know where the holes need to go, top to bottom, scoot the bookmark to the edge of the template page (so the edges are flush) and secure with paper clips.
10. Use your single hole punch to punch out the holes in the correct spots, and ta-da! ... you're done!!
Yay! Wasn't that easy!?
Now you go make one too! I designed two sizes.. the full sheet size, like you saw in the pictures, and also a smaller half sheet size.
Oh, and leave a cheery Hello! if you download :)
FULL SIZE Planner/Binder Bookmark file
HALF SIZE Planner/Binder Bookmark file
To see more of my designs, head on over to my Etsy Shop! There are always new things to see :)
Blessings,


Thank you so much for the sweet bookmarks! I love them!
ReplyDeletegood sharing.. beautiful
ReplyDeleteThese are just adorable! Thank you for sharing them with us :)
ReplyDeleteThank you!
ReplyDelete